Asset Setup Processes (Additions)
Quick Additions
Use the Quick Additions process to quickly enter ordinary assets when you must enter them manually. You can enter minimal information in the Quick Additions window, and the remaining asset information defaults from the asset category, book, and the date placed in service.
To add an asset quickly accepting default information:
1.Choose Assets > Asset Workbench from the Navigator window.
2.Choose Quick Additions from the Find Assets window.
The following screen appears.
3. Enter a Description of the asset.
4. Enter the asset Category.
5. Select the Asset Type of the asset. For a description of the assets types, see: Asset Descriptive Details
6. Assign your asset to a corporate depreciation Book.
7. Enter the current Cost.
8. Optionally update the Date Placed In Service.
9. Update the depreciation method and prorate convention, if necessary. The depreciation method and prorate convention are defaulted from the category default rules. However, you can update them here.
10. Assign the asset to an Employee Name (optional), a general ledger depreciation Expense Account, and a Location.
11. Click on the Done Button.
System displays the following Message.
Sunday, June 24, 2007
Tuesday, June 19, 2007
Payables Reports Listing
Hai Friends...
You can find Reports Listing in the following Link.
http://cnubandi.googlepages.com/oraclepayablesreportslisting
You can find Reports Listing in the following Link.
http://cnubandi.googlepages.com/oraclepayablesreportslisting
Monday, June 18, 2007
Friday, June 15, 2007
Journal source and categories
Journal source and categories is used to differentiate journal entries and to enhance your audit trail.
Journal entry source indicates where your journal entries originate
Journal categories help you differentiate entries by purchase or type.
Examples for Sources:
Assets
Purchasing
Payables
Manual
Budget …...Etc.
Examples For Categories:
Accruals
Adjustment
Receipts
Revaluation
Payments..Etc..
Oracle applications provided required source and categories with default. But you can define with your sauce and categories by using the following navigation:
GL:Setup->Journal->Source
Setup->journal-.Categories
With Journal Source you can:
Define inter company and suspense accounts for specific sources.
Run auto post program for specific source
Import journals by source
Freeze journals imported from sub ledgers to prevent users from making changes.
If you have journal approval enabled for your set of books, you can use journal source to enforce management approval of journal before they are posted.
With Journal Categories you can:
Define inter company and suspense accounts for specific category.
Use document sequence to sequentially number journals by categories.
Author:
Cnu Bandi
Tuesday, June 12, 2007
Use Of Automatic Offset Method In Payable Options
If you enter an invoice for expenses or asset purchases for more than one balancing segment, you might want to use automatic offset method to keep your payables transaction accounting entries balanced.
If we enable balancing as a automatic offset, payable builds the offset GL account by taking the balancing segment value from the invoice distribution and overlaying it on to the appropriate GL account, i.e liability account from the supplier site.
If we enable account as automatic offset, it takes the opposite approach with one segment being retained from the default GL account and all other segments being retained from the invoice distribution
Author:
Cnu Bandi
Sunday, June 10, 2007
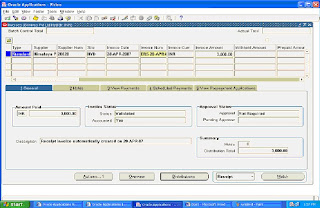
Procure To Pay Cycle Process
1. Create a Standard Purchase order.
2. Give Shipments
3. Give Distributions
4. Approve PO
5. See the status of the PO In The header level: It is approved.
6. Go to the ReceivingàReceipts
7. Give the sub inv and stock locator where you want store the goods. And Save.
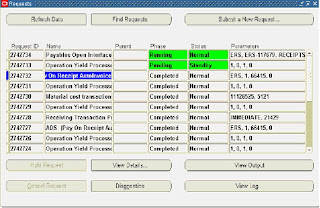
8. View the request status and refresh If not Completed.
9. Run the Program Pay on receipt auto invoice.(Which Generate Invoice Automatically)
10. View the Status of the program and refresh if not completed.
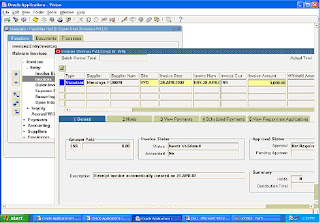
11. Go to Payables: InvoiceàEntry àInvoice
Query with the Invoice Num ERS%
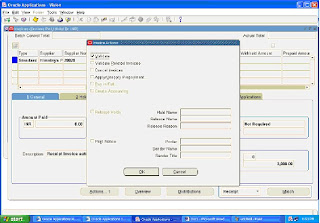
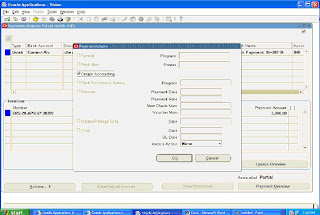
12. Validate the Invoice .After Validate Enable the creating Accounting check box.
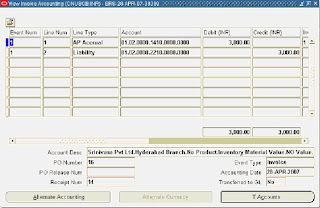
13.See The Account
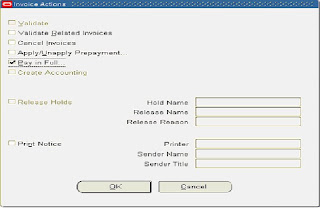
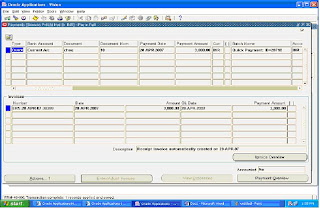
14. Enable the check box Pay in full. And Pres ok.
15. Select the Bank and Go to Actions
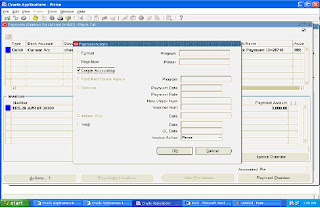
16. Enable the check box Create Accounting and press ok.
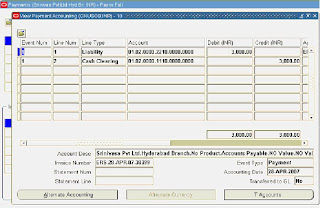
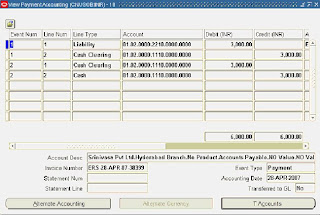
17. See the Account Created.
18. Now see the invoice status validated, accounted and amount paid.
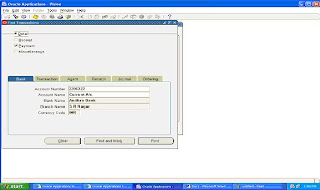
19. Go to Cash Management: Bank Statementsà Manual clearing. àClear Transactions
Find the Bank Account.
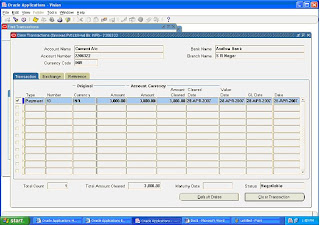
20. Enable the Transaction and press Clear Transaction Button.
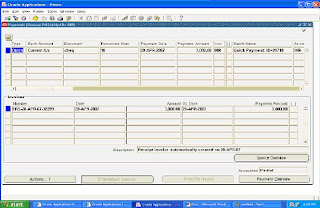
21. Go to Payables: PaymentàEntryàPayment
Query with Payment Date
22. Go to actions, enable Create Accounting and press ok.
23. See the Account created.
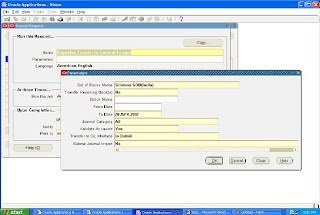
24. Run: Payables Transfer to General Ledger.
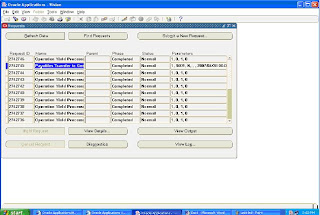
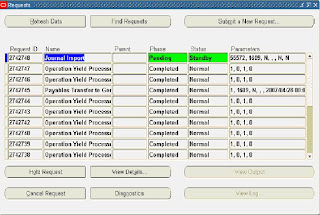
25.View the Request status and refers if not completed.
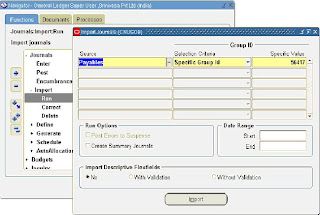
26.Got to GL:JournalàImportàRun
27.View the request status and refers if not completed.
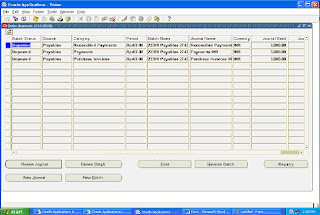
28. Go to JournalsàEnter .Find with Source as Payables.
29.Now We can Post the journals.
Author:
Cnu Bandi
Thursday, June 7, 2007
Secondary Tracking Segment
Secondary Tracking Segment is a Flex field qualified added in the 11.5.10 release. The secondary tracking segment is used in the revaluation, translation, and fiscal year-end close processes. The system will automatically maintain unrealized gain/loss, retained earnings, and cumulative translation adjustments by unique pairs of balancing segment and secondary tracking segment values. you can assign Secondary tracking segment flex field qualifier to an segment which haven’t assigned Natural account, balensing Segment and inter company.
Author:
Cnu Bandi
Subscribe to:
Posts (Atom)